Let's be honest—how many of us have yanked off our bras the moment we walk through the door, desperate to breathe again? That annoying pinch, the slipping straps, the back band that rides up or digs in… it's enough to make anyone swear off bras entirely. But here's the truth: it's not the bra's fault—it's the fit.
Wearing the wrong bra size is incredibly common. In fact, studies show that the majority of women are wearing a size that's either too big, too small, or just all wrong for their body shape. The good news? A better fit is just a measuring tape away.
Whether you're lounging at home, heading into a full day of work, juggling kids and errands, or simply looking for comfort you can count on—knowing your correct bra size is a game changer. This guide is here to help every woman, no matter her age, shape, or lifestyle, find that supportive sweet spot.
Understanding Bra Sizes: The Foundation of the Fit
Bra sizing can feel confusing, but once you understand how it works, it's actually pretty simple. There are two main components you need to get right: band size and cup size. Both matter equally when it comes to comfort and support.
1. Band Size
This is the number portion of your bra size (e.g., the "34" in 34C). It measures the circumference around your rib cage, just under your bust. This part of the bra provides most of the support—not the straps!
2. Cup Size
This is the letter part of your bra size (like the "C" in 34C). It reflects the volume of your breasts, based on the difference between your bust and band measurements.
Think of it this way: your band is the frame of a house, and your cup is the space inside. No matter how beautifully decorated the inside is, if the frame is off, the structure won't feel right.
Why the Sizing System Fails Asian Women
You've measured yourself. You've used three different calculators. You ordered a 34B—and it still doesn't fit. Before you blame your body, consider this: the problem might be the system itself.
Standard US bra sizing was developed around Western body proportions—wider, rounder ribcages with more forward breast projection. If you're an Asian American woman, your frame likely tells a different story: a narrower, more oval-shaped torso, a shorter distance between underbust and shoulder, and a shallower cup profile. None of these differences show up in a measuring tape. They show up in how the bra sits on your body.
That's why the same "34B" can feel completely different depending on the bra. A minimizer compresses; a push-up adds projection; a wireless relaxes the band tension entirely. The label says 34B, but the fit is three different experiences. For women whose proportions already fall outside what the pattern was designed for, this inconsistency gets amplified.
And if you've ever tried converting your size from a Japanese, Korean, or Chinese brand into US sizing—you already know that math alone doesn't get you there. A JP 75C is not a US 34C. The cup depth, wire angle, and band tension are engineered differently because they were designed for different bodies.
The real answer isn't a better number. It's a bra designed around your actual body shape.
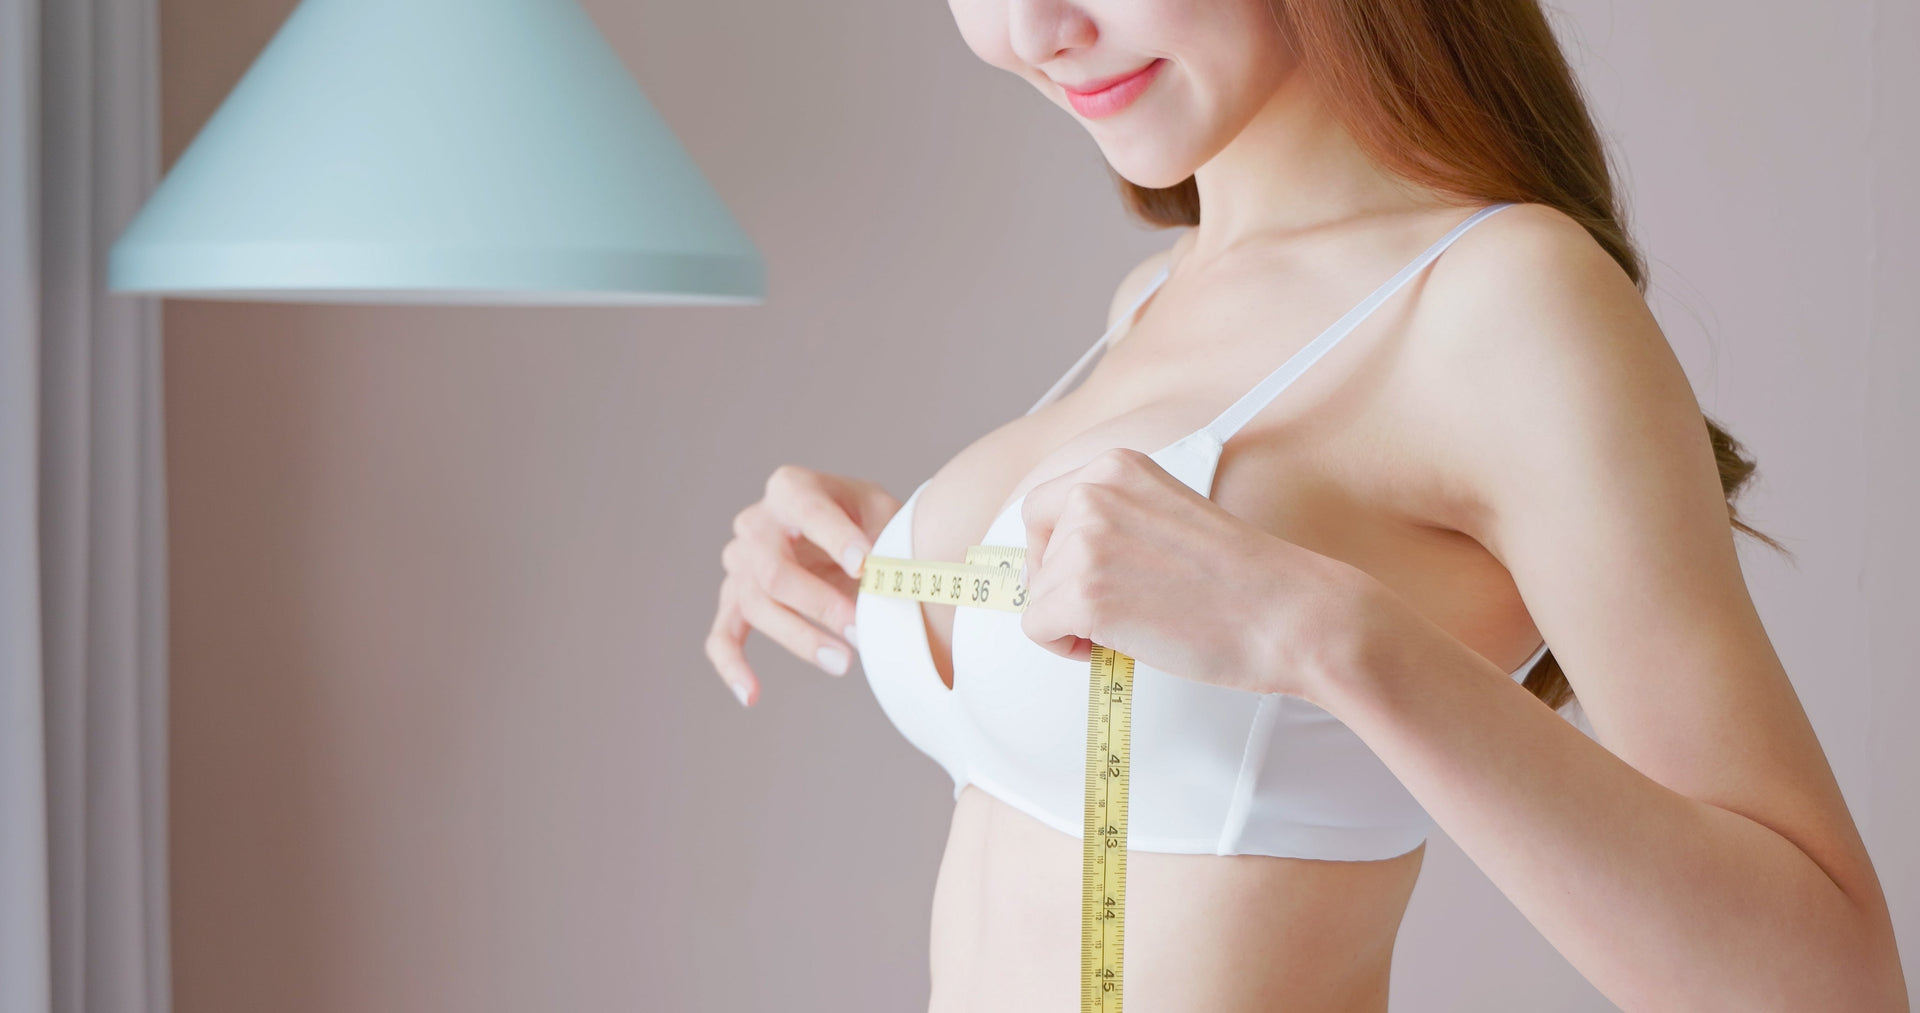
How to Measure Yourself at Home: A Step-by-Step Guide
No need to go to a fancy lingerie store (unless you want to!). You can measure yourself accurately at home in just a few minutes with a flexible measuring tape—or even a piece of string and a ruler.
Step 1: Measure Your Band Size
- Stand in front of a mirror wearing a non-padded bra.
- Wrap a soft measuring tape around your rib cage, just beneath your bust—right where the band of your bra would sit.
- Make sure the tape is level all the way around and snug (but not digging in).
- Exhale completely before you take the measurement—this gives you the most accurate result.
- Round to the nearest even number. That's your band size.
Example: If you measure 33 inches, round up to 34.
Step 2: Measure Your Bust Size
- Now, wrap the measuring tape around the fullest part of your bust—usually over the nipples.
- Keep the tape level and comfortably snug (not tight or pressing into your skin).
- Stand naturally—don't pull your shoulders back or slouch.
- Record this number in inches.
Step 3: Calculate Your Cup Size
- Subtract your band measurement from your bust measurement.
Example: 37" (bust) - 34" (band) = 3" - Use the difference to find your cup size using this simple scale:
Example: If your bust measures 37" and your band is 34", the difference is 3"—which means you're a 34C.
What If You Don't Have a Measuring Tape?
No problem! Grab a piece of string or ribbon, wrap it around your body just like you would a tape measure, and mark where it overlaps. Then lay it flat and measure the length with a ruler or standard measuring tape.
Common Bra Fitting Mistakes (and How to Avoid Them)
So many of us settle for bras that aren't working for us, either out of habit or convenience. But here are a few pitfalls to watch out for—and some simple ways to correct them:
Mistake #1: Wearing the Same Size for Years
Our bodies change. Hormones, weight fluctuations, pregnancy, age, exercise (or lack thereof)—it all affects breast shape and size.
Solution: Re-measure yourself every 4–6 months, or whenever you notice your bras fitting differently.
Mistake #2: Assuming All Brands Fit the Same
A 34C in one brand might feel completely different in another. Bra sizing isn't always standardized across labels.
Solution: Always check the size guide of the brand you're buying from and consider customer reviews for fit tips.
Mistake #3: Ignoring the Mirror Test
Just because the bra closes doesn't mean it fits. A quick mirror check can tell you everything:
- The band should be level, straight across your back.
- The center gore (the bit in the middle between the cups) should lay flat against your chest.
- No spilling over the top or gaping cups.
- Straps should rest comfortably on your shoulders—not digging in or slipping off.
Asian-to-US Bra Size Conversion: A Starting Point
If you're used to shopping Japanese, Korean, or Chinese brands, this chart can help you find your starting size in US sizing. But read the note below before you order.
| Japanese (JIS) | Korean (KS) | Chinese (GB) | US Equivalent |
|---|---|---|---|
| 65A | 65A | 70A | 30A |
| 65B | 65B | 70B | 30B |
| 70A | 70A | 75A | 32A |
| 70B | 70B | 75B | 32B |
| 70C | 70C | 75C | 32C |
| 75A | 75A | 80A | 34A |
| 75B | 75B | 80B | 34B |
| 75C | 75C | 80C | 34C |
| 75D | 75D | 80D | 34D |
| 80A | 80A | 85A | 36A |
| 80B | 80B | 85B | 36B |
| 80C | 80C | 85C | 36C |
| 80D | 80D | 85D | 36D |
| 85B | 85B | 90B | 38B |
| 85C | 85C | 90C | 38C |
Important: These conversions are starting points, not guarantees. A JP 75C does not equal a US 34C—because cup depth, wire angle, and band tension are designed differently across markets. Japanese and Korean bras tend to use shallower cups and narrower wires suited to Asian body proportions. When you convert to US sizing, you often end up in a bra that's technically the "same size" but shaped for a wider, more projected frame.
If you're between sizes or switching from an Asian brand, focus less on matching the number and more on how the bra fits your body—particularly the wire width, cup depth, and band snugness. That matters far more than the letter on the tag.
For narrow ribcages specifically: Look for bras with narrower wire spacing and shorter cup heights. Most US brands don't offer this, because their patterns start from a wider base. At Bradoria, we design for this from the first sketch—not as an afterthought.
Bonus Fit Tips for Every Body
- Petite frames: Try plunge styles and avoid full coverage bras that may gape.
- Fuller busts: Look for wide straps, firm bands, and multi-hook closures.
- Asymmetrical breasts: (Totally normal, by the way!) Fit to your larger side and use removable padding on the smaller side for balance.
- Postpartum or hormonal changes: Your size may change month-to-month—have a few different sizes on hand.
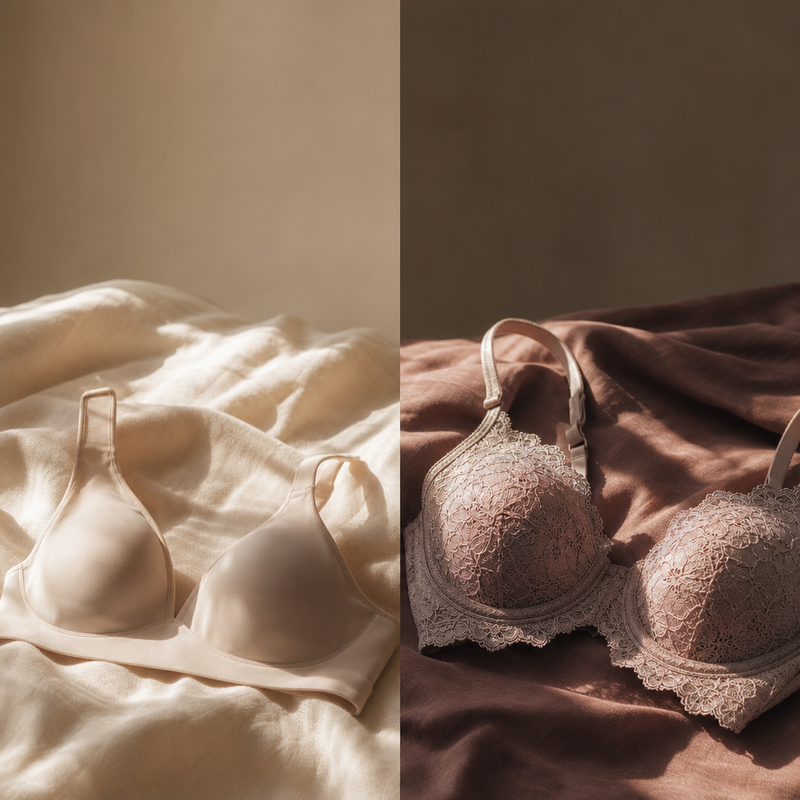
Feature Highlight: Bradoria Zero-Pressure Wireless Bra
One of our favorites is the Bradoria Zero-Pressure Wireless Bra. It's designed with:
- Soft, adjustable straps that stay put.
- Breathable lace cups that stretch with you.
- A seamless band that sits flat against your ribs.
- It's a comfort you'll barely notice—except when someone compliments how great you look.
Additional Resources and Tools
Still unsure? Try these trusted resources:
- How to measure your bra size (video)
- The Different Bra Types That Every Woman Should Know
- Talk to a professional: Bradoria's fitting experts are one click away
- Shop our bra collection — designed for Asian body proportions
The Bottom Line: Support is Self-Care
Your bra should never be a source of discomfort—it should support you in every way. A great fit can improve your posture, boost your confidence, and help you feel good in your clothes and your skin. You deserve a bra that works as hard as you do.
So next time you reach for the one in your drawer that's "close enough," pause for a second. Grab a tape measure, follow the steps above, and treat yourself to a bra that actually fits.
Your body will thank you.